
I love decorating cakes, it’s something that I fell into when some friends took a few classes at our local Michael’s store and asked me to join them for the fondant class. I thought it sounded like a fun thing to do with my girlfriends, and like everything I do for fun, I was all in. I absolutely LOVED the class, even though it was as basic as could be. We learned a little about gum paste, but to be honest, I don’t remember much of that. Fondant is my thing.
I used to use box mixes when I’d make my cakes, but my love of white wedding cake encouraged me to go beyond the box. I don’t use box mixes anymore – I like to bake from scratch (but my white wedding cake recipe involves a box mix with lots of goodies added, like sour cream!). I’ve found my favorite recipes at recipegirl.com and go to her site whenever I’m in need of a cake recipe. For coffee cake, I trust my Test Kitchen bakers cookbook – it is fool proof (like any and all recipes from Test Kitchen/Cooks Illustrated). I almost take as much pride these days in the cake itself as I do the way they’re presented.
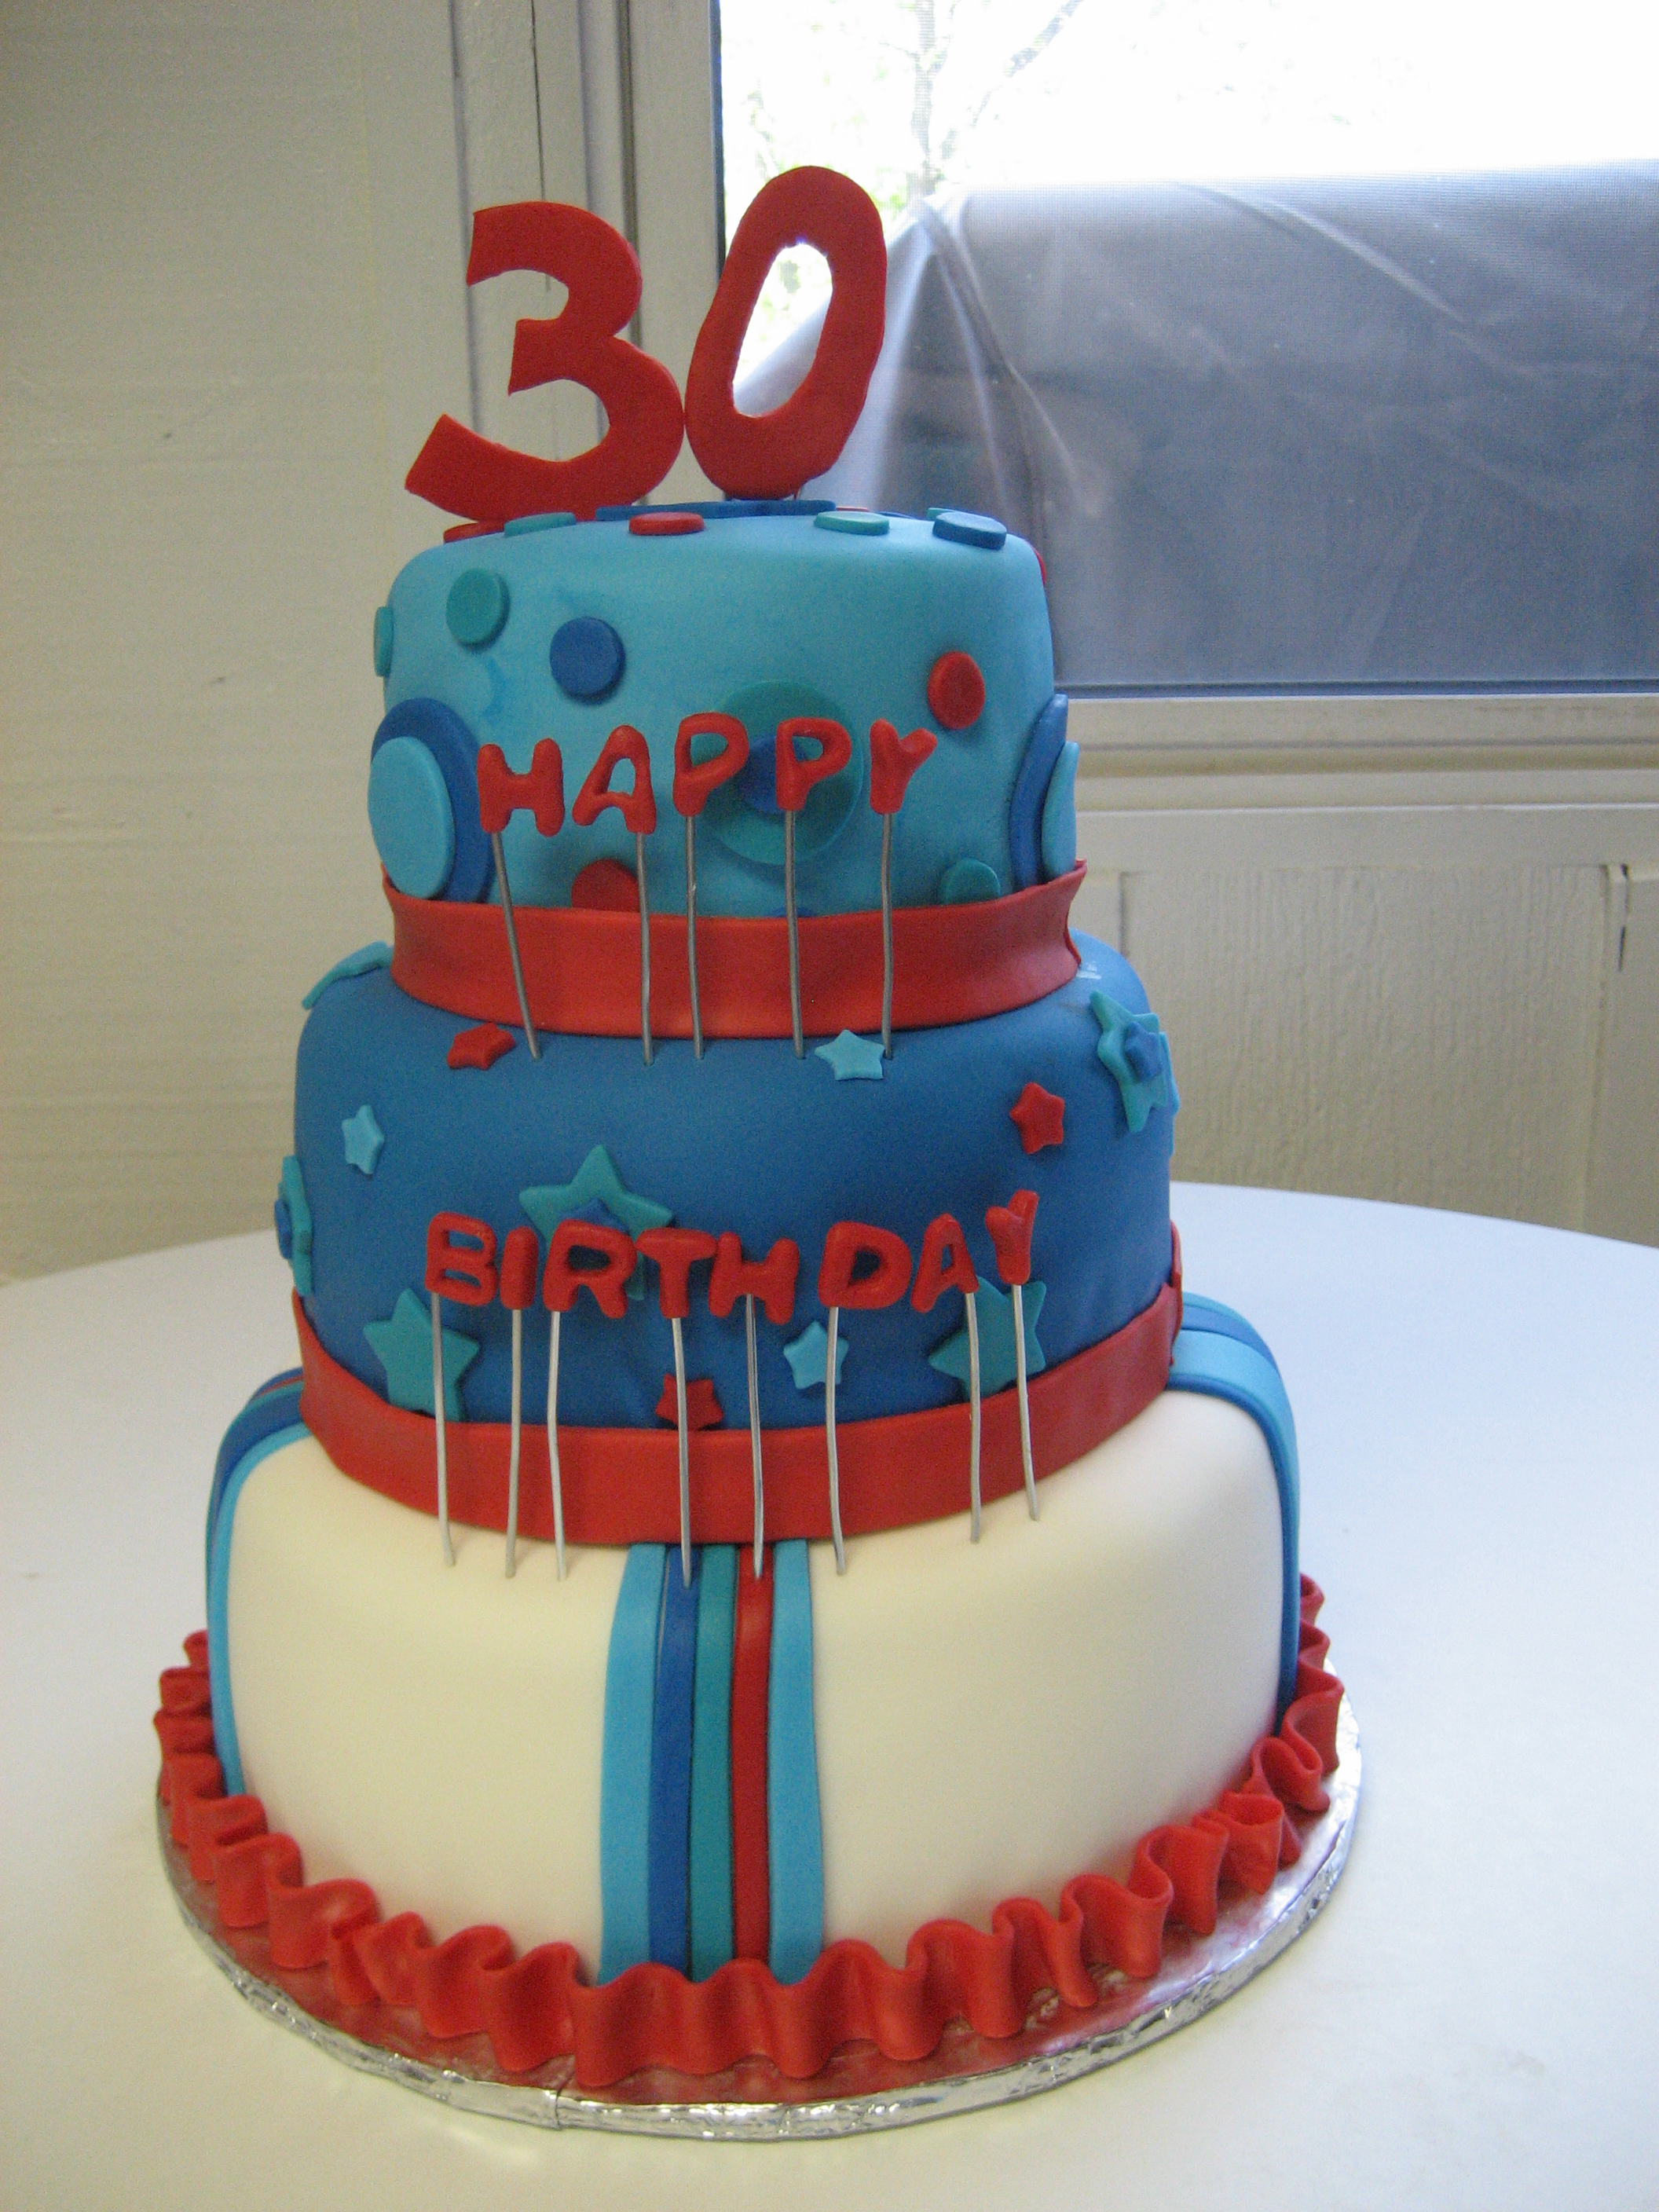
The first cool cake I made was a three-tier birthday cake for Hottie and our good friend’s joint 30th birthdays. I did a tier in strawberry, one in white, and one in chocolate. I truly laugh at that cake now – it was so incredibly basic. HA! The complexity of that cake was all in the size. Hottie helped me with it and it still took 12 hours to complete!
I took a long break and then got back into it for Matthew’s third birthday. I knew exactly what I wanted to do and it was a snap. I loved every minute of making this cake – it was just so happy and fun! The best part about it was that Matthew LOVED it and was super excited that it was all HIS, including the fondant yellow hat (the CG figurine was purchased). The thing about fondant, which is shown here, is that it is really easy to work with but makes the cake look super cool and difficult to do. It really is like playing with playdoh. (I made the banner too – I still have it and probably always will!)

My cake! I loved this cake – it turned out just how I wanted it. And that’s Matthew’s cupcake and candle!
Bryson’s first birthday party was the weekend after Matthew’s birthday party and I was all about making his cake too. I found the wooden plane topper on Etsy and then did the rest myself. It was very much how I wanted it to end up and its size with the topper was overwhelming, which was my goal! (That topper/banner was a lot of work – probably more work than the cake.)

The next big cake was for the boys’ joint birthday this past year and as hard as it looks, it was so easy – it was ridiculous. I copied it right off of one I found online and it only involved a little bit of fondant. The trucks are plastic toys because I’m not crazy 😉 The cake recipe was from recipegirl and it was fantastic! This cake made me aware of fondant markers – something that every fondant cake maker must have!

")
")
")
Then, a friend posted a sparkler cake on Facebook for the 4th of July and, well, that had to be done! It was made from the white wedding cake recipe (and buttercream frosting) from recipegirl and it was a hit. This cake probably tasted the best of all the white cakes I’ve made, and I have no idea why (I always use the same recipe). I can still taste it when I think about it. This was the first 3-layer cake I’ve done and I loved the height of it!


And that brings me to today… getting ready for a big, family Christmas Eve dinner with a terrific mother-in-law who asked me to make a white wedding cake as soon as possible. She asked me for this a month ago when we celebrated my father-in-law’s birthday with a double fudge chocolate cake that I whipped up and let the boys decorate. I wouldn’t normally make a white cake for Christmas dinner, but I love a challenge and I found the neatest cake in the world – it’s even called “Christmas Eve.” So… I’m doing it! The lights for the windows are ordered (hoping they work) and I’ve spent so much time thinking about how to do this, that I feel like I’m 25% done already. HA!


I was so excited to get started, but just could not find the time. Today, I started the cake. YAY!
My plan is to make the snowman, tree, windows/door, and snowflakes out of fondant well ahead of time. I will bake and freeze the cakes (two very deep 10″ white cakes to make a 2-tier cake) a week ahead and will then do basic frosting and construction on Christmas Eve. The blue base cake will be frosted in buttercream and the white top parts will be white fondant on top of the blue buttercream. I have royal icing for the ice cycles, tree snow, and piping and… there is one non-edible part unless I figure out how/when to make it (the bare branchy tree behind the cabin on top). I will leave the fronts of the windows off until show-time when I turn on and toss the battery-operated LED balloon lights into each window.
Sounds easy, right?
12/06/2015
Fondant snowman and pine tree are constructed. Both are dusted with pearl dust to add depth and dimension. I will add royal icing to the tree for the snow on Christmas eve when I’m doing the piping and icicles.

12/08/2015
I finished up my fondant work today! I started with the snowflakes for the border between the white fondant and blue buttercream, and ended up cutting them ALL in the wrong color (blue). When I realized the mistake, I was sort of relieved because I wasn’t crazy about how dark the blue came out. I re-did them in white and had them done quite quickly because I’d already mastered the snowflake fondant cutter/press.

Then it was time to move onto the cabin pieces. It took FOREVER to get the brown fondant dark enough, but it finally got there. I used a precision fondant knife which really was just a food-safe exacto knife (waste of money) and cut the pieces very irregularly because I want it to look rustic. I cut accent wood pieces to add depth and put them together, but was not happy with the final product. It was too flat – it needed texture. I found a small flat brush in my cake kit and dry-brushed brown gel dye onto the pieces. They look MUCH better and very rustic!

When I gathered the mail on my way back into the house after picking Matthew up from school, I found my “balloon lights” in the mailbox. HOORAY! I’ve been wondering if they’d be small enough to put behind the cabin walls to light the cake and I’m happy to say that they will work PERFECTLY!


The next, and final step, was to figure out how to put “glass” in the windows. I was going to buy rice paper but I just didn’t want to – I wanted to try making it. I searched for videos on “how to make edible glass” and found a perfect tutorial. The lights I got are a very bright cool white, which is too bright. I need the glass to tone down the brightness and the video explained how to make a golden-colored glass. I got to work with the boys and I LOVE the final product!
")


Now… I get to think about how to use royal icing for the icicles!
